

Documentation Index
Fetch the complete documentation index at: https://www.thundercompute.com/docs/llms.txt
Use this file to discover all available pages before exploring further.
VS Code
Editor extension
CLI
Command line
Console
Web interface
Before You Connect
Make sure you have:- Installed the Thunder Compute VS Code extension
- Signed in to Thunder Compute from the extension
- Installed the Remote - SSH extension
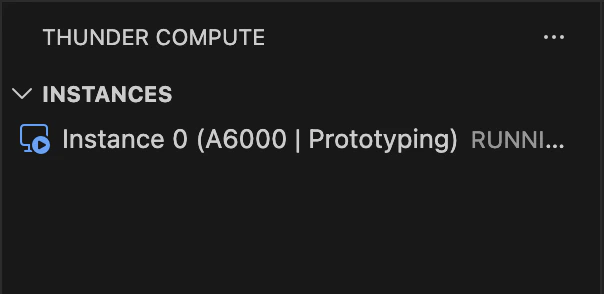
- Created an instance and waited for it to show
RUNNING
If your instance does not appear, click the refresh button in the Thunder Compute sidebar.
Connect to an Instance
- Open VS Code
- Click the Thunder Compute lightning icon in the Activity Bar
- If prompted, click Login and complete the browser sign-in
- Under Instances, find the running instance
- Click the connect button on the instance row
SSH: tnr-0.
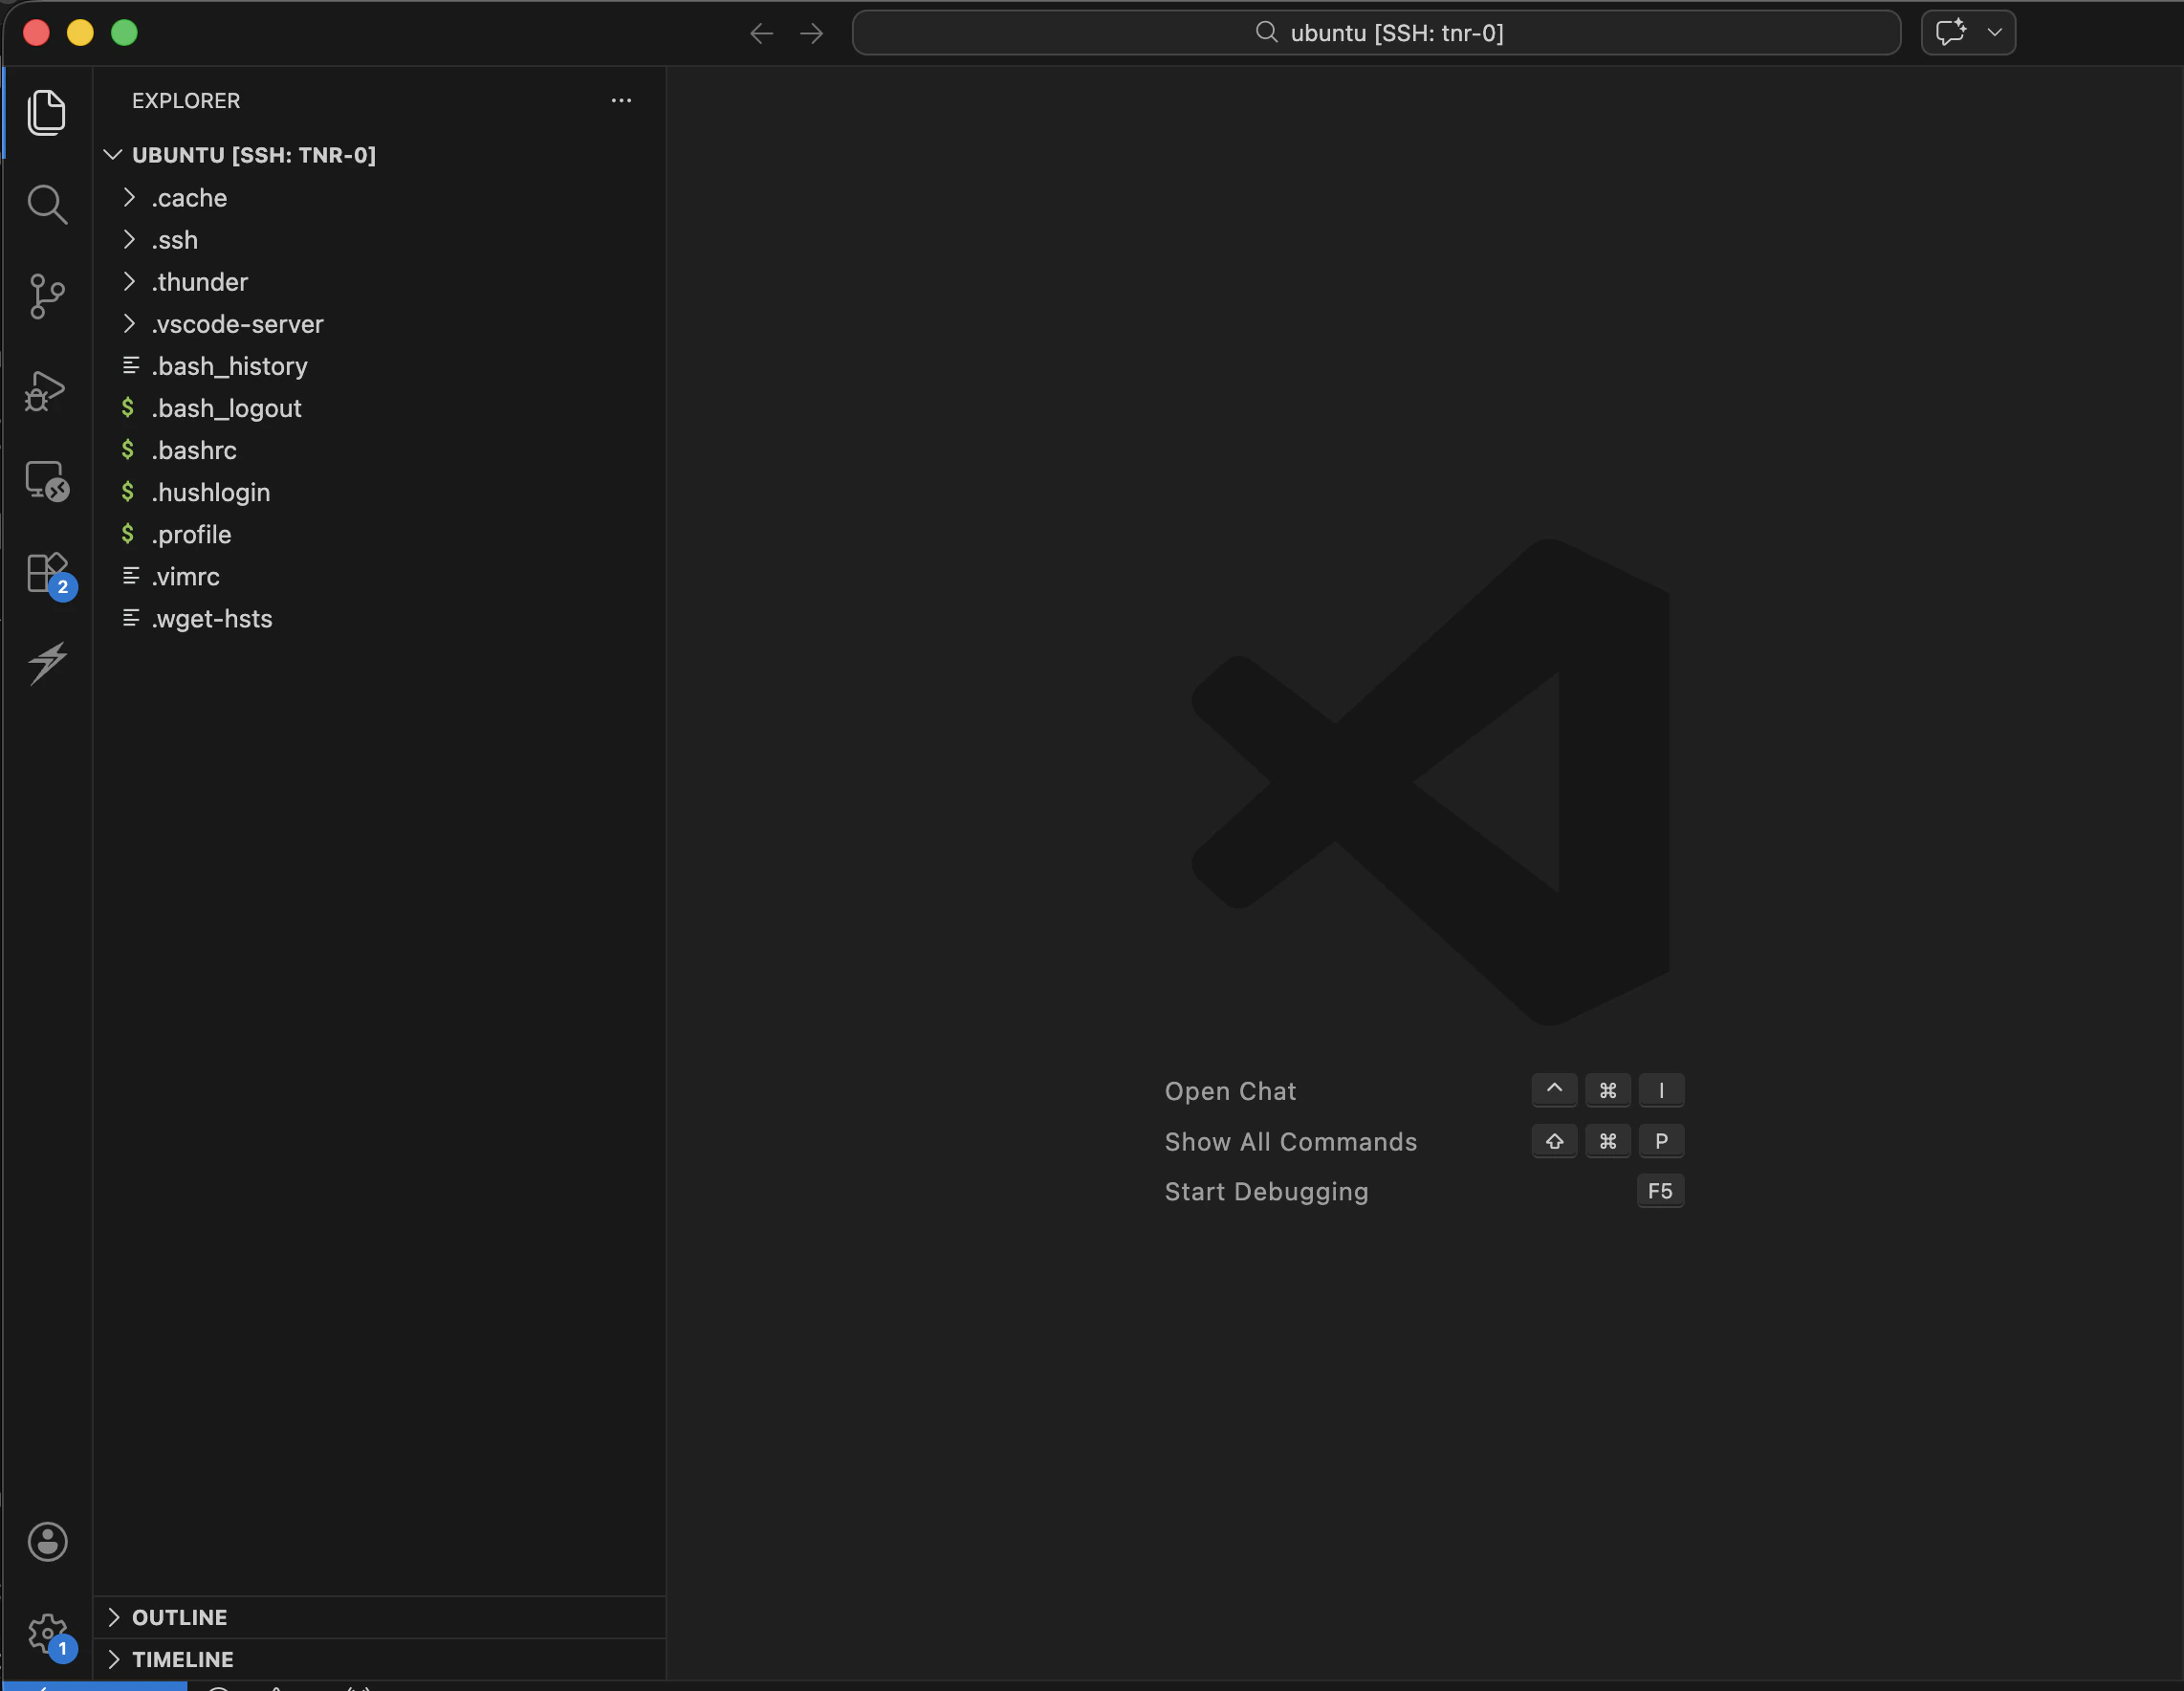
On your first connection, VS Code may ask whether you trust the remote folder. Choose Yes, I trust the authors only for folders you expect to work in.