

Documentation Index
Fetch the complete documentation index at: https://www.thundercompute.com/docs/llms.txt
Use this file to discover all available pages before exploring further.
VS Code
Editor extension
CLI
Command line
Console
Web interface
Before You Connect
Make sure you have:- Signed in with
tnr login - Created an instance
- Waited for the instance status to show
RUNNING
ID column from that table when you connect. For your first running instance, the ID is usually 0.
Connect to an Instance
Direct Connection
If you know the instance ID, pass it totnr connect:
0 with the ID from tnr status.
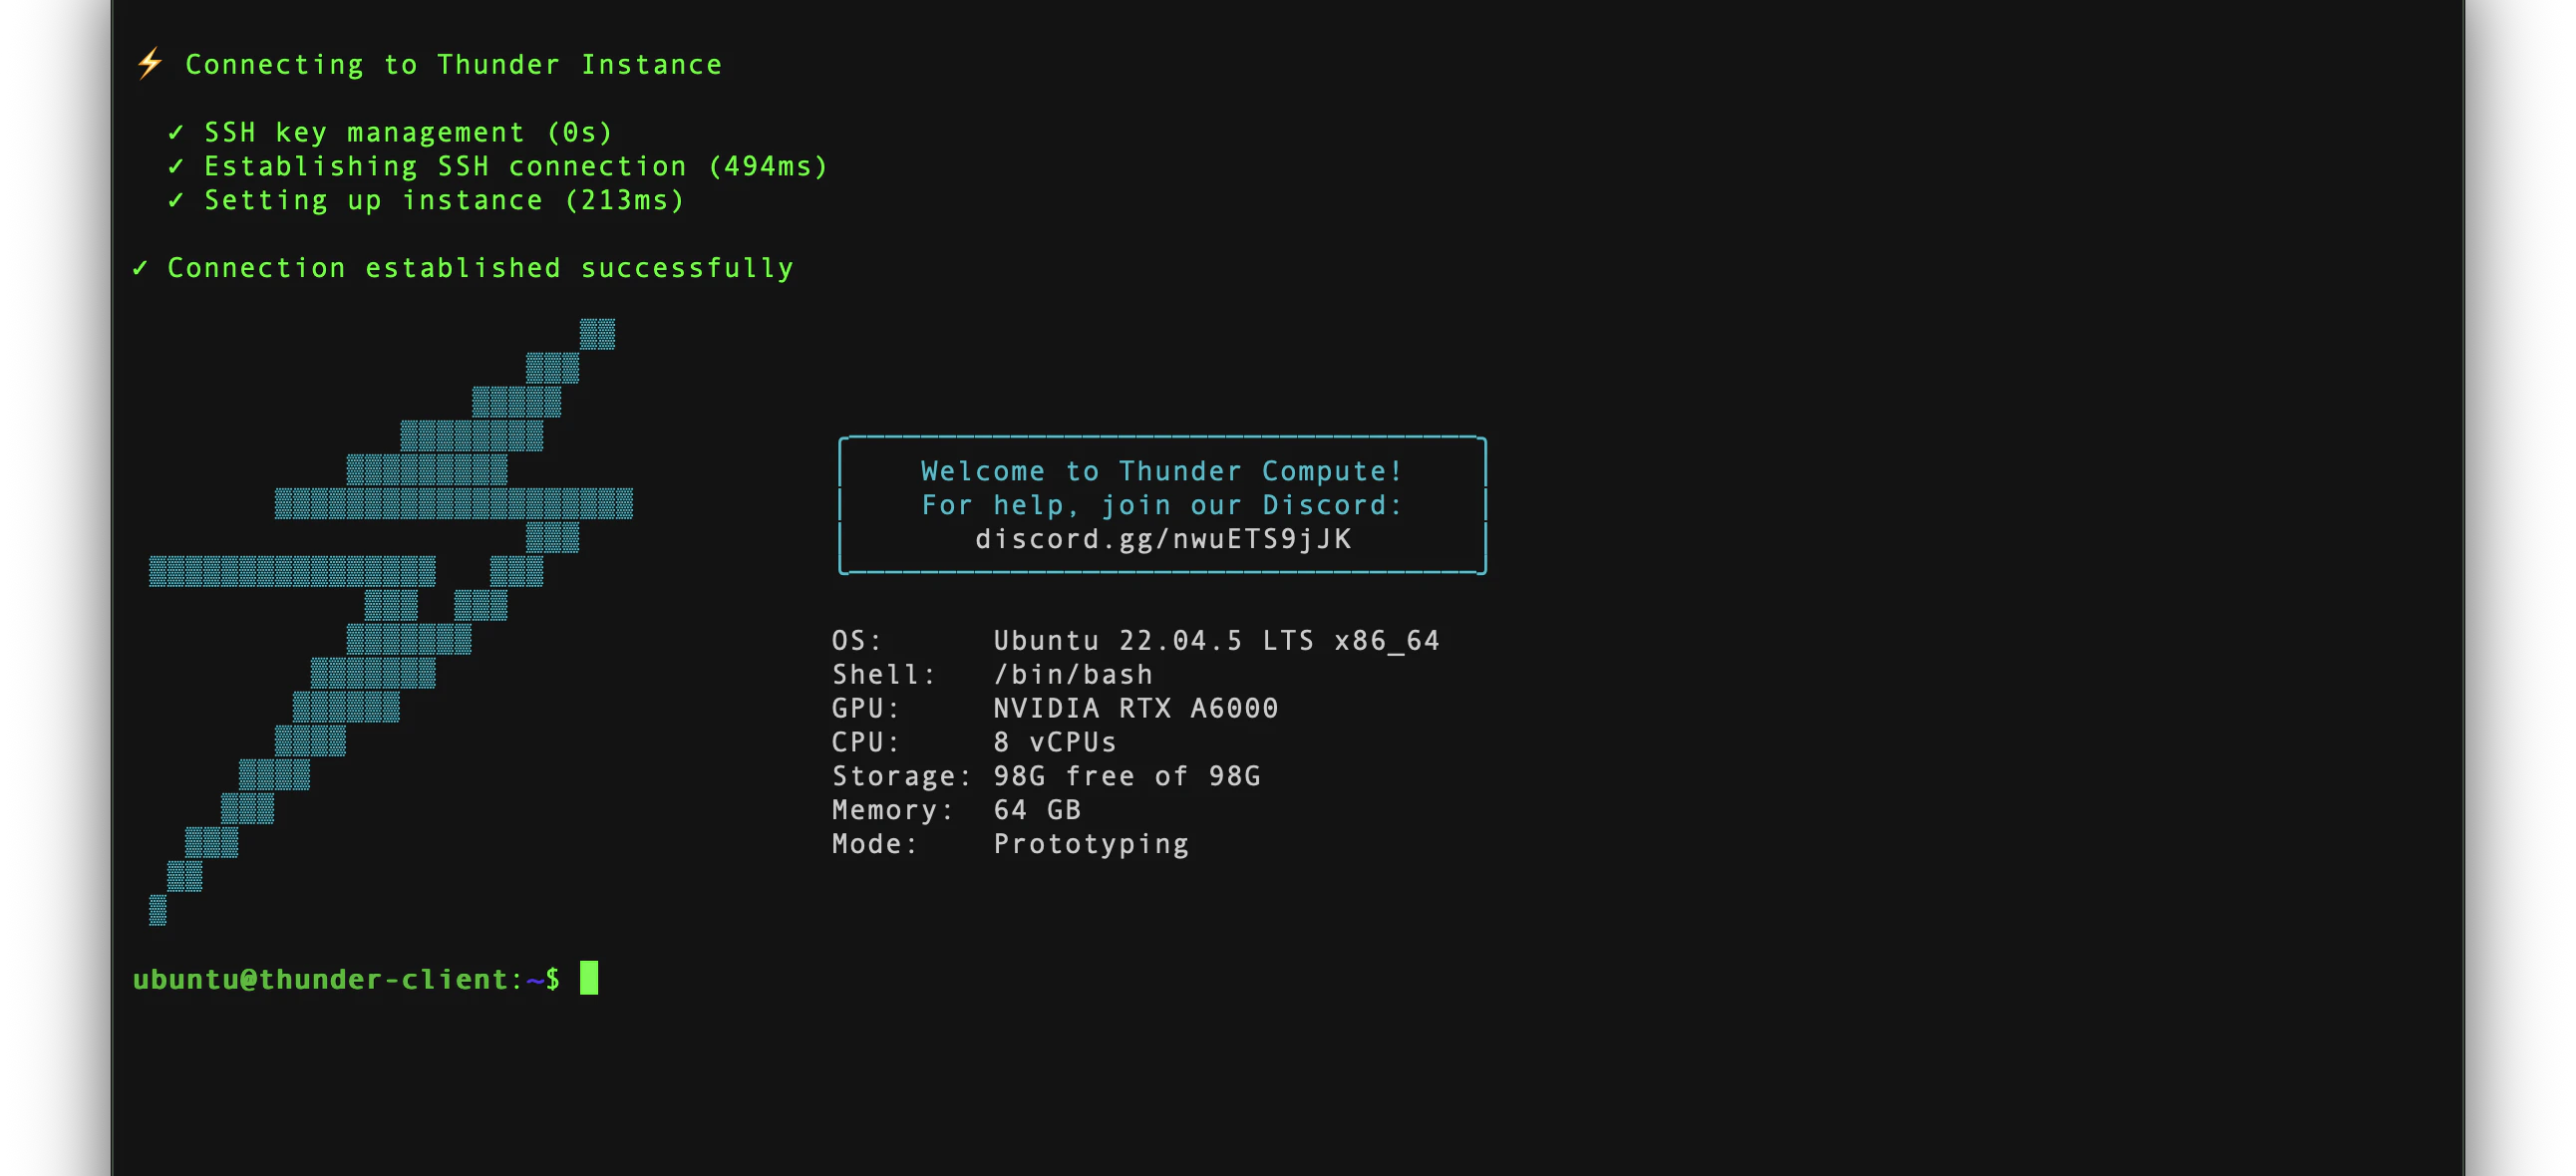
The CLI will set up SSH access, open the connection, and drop you into a shell on the instance. When the connection is ready, you will see a prompt like ubuntu@thunder-client:~$.
Interactive Connection
If you are not sure which instance to use, run:End the Session
When you are done, typeexit in the remote shell to close the SSH session.
If no instance appears, run
tnr status --no-wait and confirm the instance is RUNNING. If you are signed out, run tnr login and try again.Exposing Services
To expose web servers, Jupyter notebooks, or other services running on your instance, use a Cloudflare Tunnel.Using Standard SSH
If you prefer using your own SSH client, Thunder Compute is compatible with standard SSH tools. The CLI configures your~/.ssh/config automatically when you first connect.
Need to attach your own keys or copy an IP for manual access? See SSH on Thunder Compute for the saved-key workflow.